 After finishing up with our Marzipan fruits, we moved right on into learning how to pipe borders, rose buds, and full and half roses. So much time was spent on learning how to make shells, reverse shells, rosettes, fleur-de-lys, rope, garlands, ruffles, swags, bows and star flowers. After every class I would leave with my hand cramping from all the pressure I had been applying. But after two full lessons of piping, we were ready to attack the rose! I think everyone can relate to what it’s like to stare at a rose on a cake or cupcake and wonder how on earth it was created in buttercream. Finally, I was going to get to use a new tip in the large set of tips I had to buy at the beginning of the course.
We started learning the rose by learning rosebuds. These are actually deceivingly difficult! Because I had spent some time making roses out of marzipan and bread in previous lessons, I felt like these would be easy for me, but it turns out that making a rose bud is nothing like making a full blown rose, so I had no context for it. It took me what seemed like 100 tries to finally get a good rose bud created.
After we nailed the rose bud, we moved onto half roses. Half roses are just extensions of rose buds, but with two or three additional leaves piped. And then finally, onto full-blown roses!
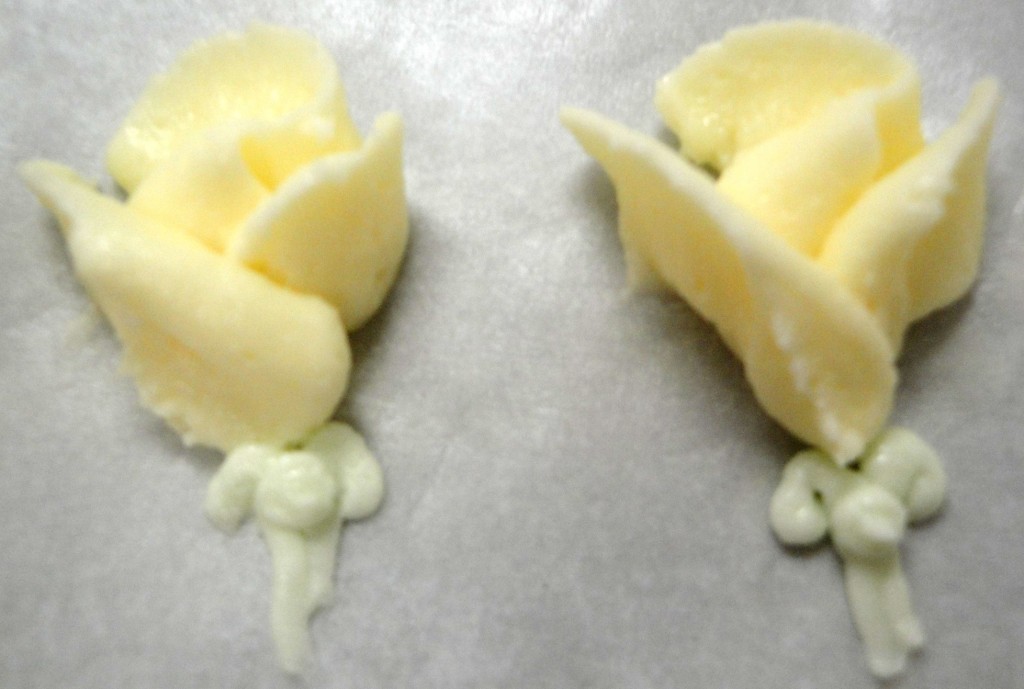
Creating a rose bud
Rose buds are generally piped directly onto an iced cake, versus a full blown rose which is generally piped onto a piece of parchment paper and then stuck onto the cake.
To create a rose bud, pipe a backwards “S” shape with the petal-shaped tip. Then finish the flower by piping the sepal and calyx at the bottom of the flower with green icing.
Creating a rose
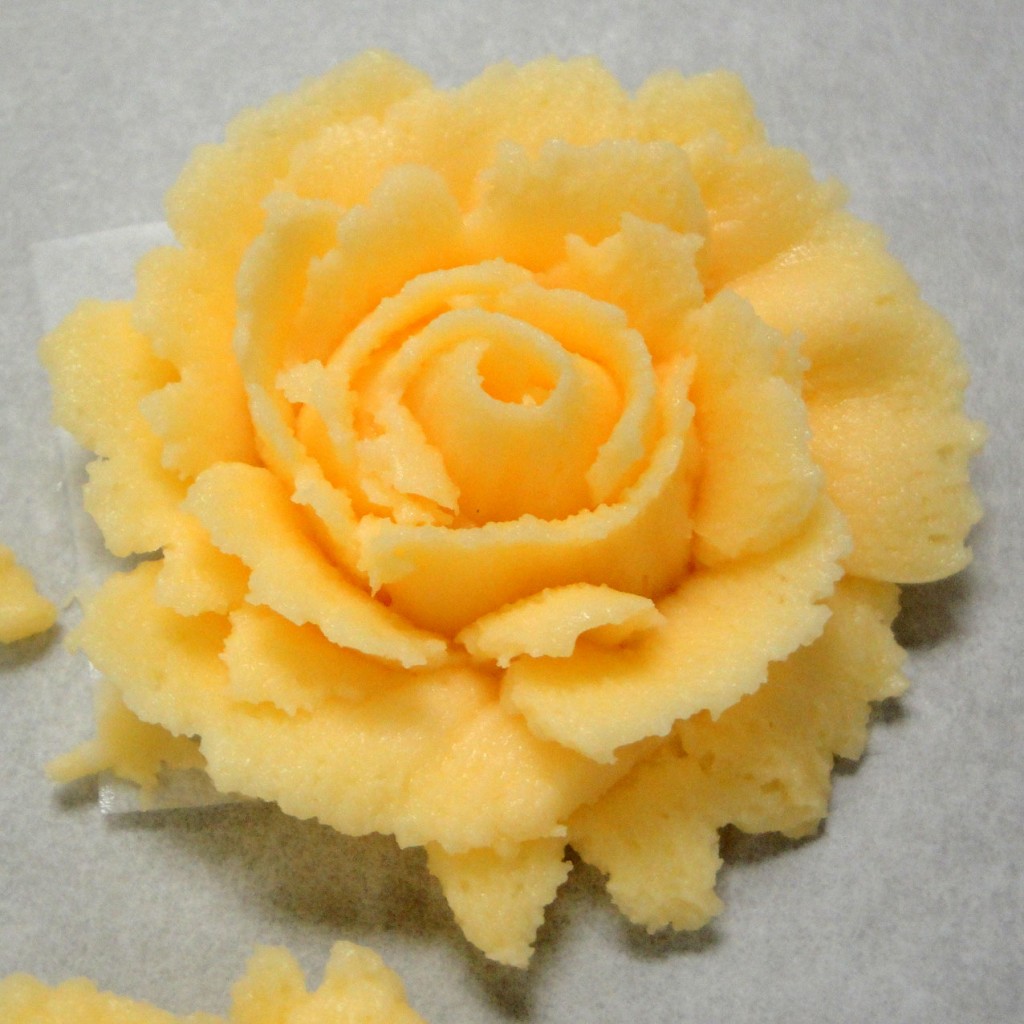
Full blown roses are traditionally piped on an icing nail on a piece of parchment paper. After finishing the rose, place the parchment paper in the refrigerator to harden and then gently place the rose onto your iced cake.
The base of roses are generally made from a cone of the same type of buttercream that you will use to pipe the petals, however, for a fuller rose you can also a Hershey’s kiss as your base!
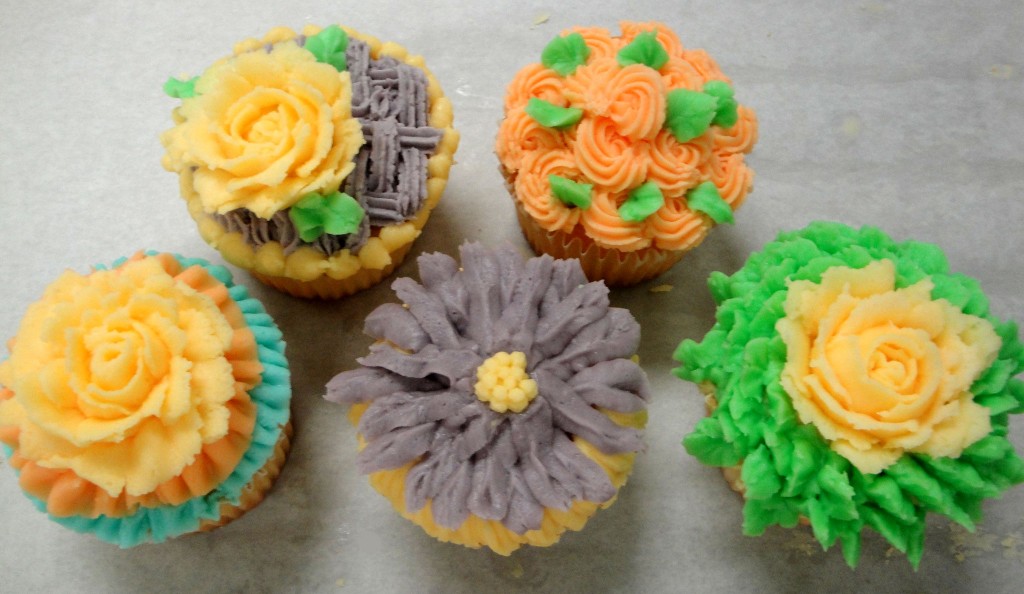
Look at the rose that is in the top left of this photo – see how it looks taller than the other roses surrounding it? That is the effect you will get using a Hershey’s kiss.
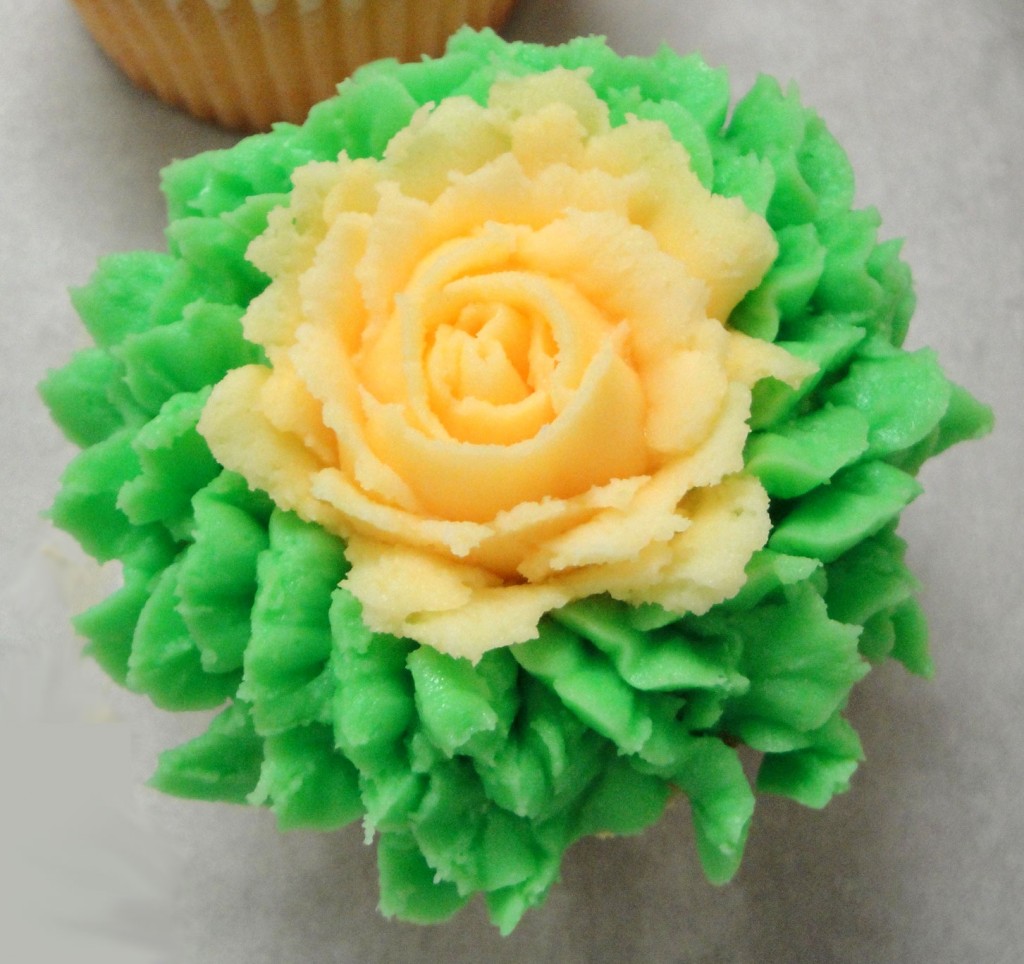
After each creating a dozen or so roses, we threw together a batch of cupcakes and each decorated them using different techniques that we had learned in the past 3 lessons. All of the roses in the middle of the cupcakes were created on icing nails and then placed into the cupcakes!


